
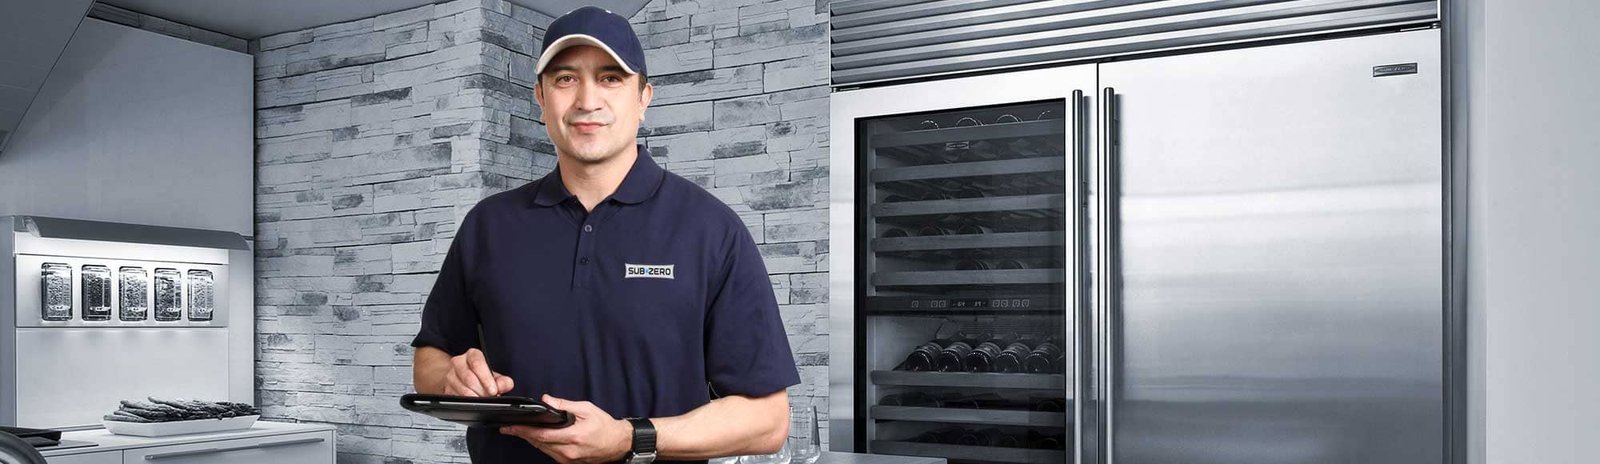
Sub-Zero appliances demand specialized attention when cooling issues, ice maker failures, or temperature fluctuations occur. Factory-certified technicians with genuine parts resolve these problems efficiently, protecting your investment and preventing food spoilage. Professional repair extends appliance life while maintaining optimal performance standards.
According to the U.S. Department of Energy, proper refrigerator maintenance and timely repairs can reduce energy consumption by up to 15 percent while preventing premature replacement. Sub-Zero units require expertise beyond standard appliance repair, making certified service essential for preserving functionality and value.
Table of Contents
- What Is Sub-Zero Repair?
- Common Problems With Sub-Zero Refrigerators
- Why Professional Sub-Zero Repair Matters
- Signs Your Sub-Zero Appliance Needs Service
- Sub-Zero Refrigerator & Freezer Repair Services
- How Certified Sub-Zero Technicians Diagnose Issues
- Cost of Sub-Zero Repair and What Affects Pricing
- How Long Do Sub-Zero Repairs Take?
- Preventive Maintenance Tips for Sub-Zero Appliances
- FAQ
What Is Sub-Zero Repair?
Sub-Zero repair addresses issues specific to premium refrigeration systems manufactured by Sub-Zero Group. These luxury appliances feature advanced cooling technology, dual refrigeration systems, and precision temperature controls that standard refrigerator technicians cannot properly service.
Answer Capsule: Sub-zero repair involves specialized service by factory-trained technicians using genuine manufacturer parts to diagnose and fix cooling, ice maker, temperature control, and mechanical issues in Sub-Zero brand refrigerators, freezers, and wine coolers.
Specialized Training Requirements
Certified Sub-Zero technicians complete rigorous manufacturer training programs covering electronic diagnostics, refrigeration systems, and model-specific repairs. This expertise ensures accurate problem identification and proper solutions. The certification process includes hands-on experience with Sub-Zero’s dual refrigeration technology, which separates refrigerator and freezer cooling systems to prevent odor transfer and maintain optimal humidity levels.
Expert Tip: Always verify that repair services use authentic Sub-Zero parts backed by manufacturer warranties. Generic replacements void warranties and compromise performance, leading to recurring problems and additional repair costs.
Common Problems With Sub-Zero Refrigerators
Sub-Zero units experience specific issues related to their advanced cooling systems and premium components. Recognizing these problems early prevents extensive damage and reduces repair complexity.
Most common Sub-Zero problems include inadequate cooling, ice maker malfunctions, temperature fluctuations, water leaks, frost buildup, compressor failures, evaporator coil issues, door seal problems, and electronic error codes indicating system faults.
Sub-Zero Not Cooling or Staying Cold
Cooling failures stem from compressor malfunctions, refrigerant leaks, condenser issues, or electronic control board problems. The dual refrigeration system complicates diagnosis since refrigerator and freezer sections operate independently. Immediate professional attention prevents food spoilage and identifies whether repairs involve simple component replacements or complex system rebuilds.
Ice Maker Not Producing Ice
Sub-Zero ice makers fail due to water supply issues, frozen water lines, faulty inlet valves, defective ice maker assemblies, or electronic control problems. The integrated design requires specialized tools for diagnosis.
Mini Case Study: A commercial kitchen experienced ice maker failure during peak service hours, losing ice-dependent beverages and food display capabilities. Professional diagnosis revealed a clogged water filter combined with a faulty inlet valve. Same-day repair with genuine parts restored full ice production within three hours, preventing thousands in lost revenue.
Temperature Fluctuations or Warm Spots
Inconsistent temperatures indicate failing thermistors, damaged door seals, blocked air vents, or malfunctioning damper controls. Sub-Zero’s precision temperature management requires exact calibration. Even minor fluctuations compromise food safety according to FDA food storage guidelines.
Water Leaking From the Sub-Zero Unit
Leaks originate from clogged defrost drains, damaged water supply lines, cracked drain pans, worn door gaskets, or ice maker connection failures. According to the EPA WaterSense program, a leaking refrigerator water line can waste up to 90 gallons daily. Prompt repair prevents water damage while reducing utility costs.
Excess Frost or Ice Build-Up in Freezer
Frost accumulation signals defrost system failures, damaged door seals, blocked vents, or humidity control problems. Sub-Zero’s automatic defrost system includes multiple components that must function properly.
Repair Checklist for Frost Issues:
- Inspect door gaskets for tears or gaps
- Verify defrost timer operation and cycle completion
- Check defrost heater for continuity and proper function
- Examine defrost thermostat for accurate temperature sensing
- Clear blocked air circulation vents
- Test door alignment and closing mechanism
Compressor or Condenser Problems
The compressor circulates refrigerant throughout the cooling system. Failures produce unusual noises, inadequate cooling, or complete system shutdown. Professional diagnostics determine whether compressor replacement or condenser cleaning resolves issues.
Door Seal and Gasket Issues
Damaged gaskets allow warm air infiltration, causing condensation, frost, and cooling inefficiency. Sub-Zero door seals use magnetic strips within rubber gaskets. The simple dollar bill test checks seal integrity: close a bill in the door and pull gently. Excessive movement indicates seal problems requiring professional replacement.
Sub-Zero Error Codes Explained
Electronic control systems display error codes indicating specific malfunctions. Factory-trained technicians interpret codes accurately, expediting diagnosis and repair. Attempting repairs based solely on error codes without proper training often worsens problems.
Why Professional Sub-Zero Repair Matters
Attempting DIY repairs on complex refrigeration systems risks personal injury, appliance damage, and warranty avoidance. Professional service protects your investment while ensuring safe, effective repairs.
Professional Sub-Zero repair ensures accurate diagnosis, proper repairs using genuine parts, warranty protection, safety compliance, and long-term reliability that DIY attempts or uncertified technicians cannot provide for these premium appliances.
Importance of Using Genuine Sub-Zero Parts
Authentic components meet exact manufacturer specifications for fit, performance, and durability. Generic parts compromise cooling efficiency and void existing warranties. Genuine parts maintain Sub-Zero’s energy efficiency standards and reliability.
Signs Your Sub-Zero Appliance Needs Service
Early problem recognition prevents minor issues from escalating into expensive repairs. Monitor your Sub-Zero unit for warning signs indicating professional service needs.
Key service signs include unusual noises, inadequate cooling, visible frost or ice buildup, water pooling, excessive condensation, higher energy bills, frequent cycling, error code displays, and food spoilage despite proper temperature settings.
Unusual sounds like grinding, clicking, or loud humming indicate mechanical stress or component failures. Temperature monitoring identifies cooling inconsistencies before food spoilage occurs. Digital displays showing error codes or flashing lights signal electronic system problems requiring diagnostic evaluation.
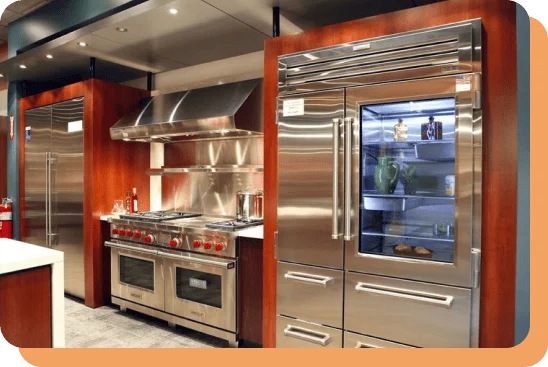
Sub-Zero Refrigerator & Freezer Repair Services
Comprehensive repair services address all Sub-Zero models including built-in refrigerators, freestanding units, freezers, ice makers, wine coolers, and marine refrigeration systems.
Professional services include emergency repairs, routine maintenance, compressor replacement, ice maker service, temperature control calibration, refrigerant recharging, door seal replacement, electronic diagnostics, and preventive maintenance programs for residential and commercial installations.
Emergency Sub-Zero Repair Services
Refrigeration emergencies demand immediate response to prevent food loss and business interruption. Emergency services provide same-day repairs with technicians carrying common replacement parts and diagnostic equipment. Response time matters during emergencies, which is why 24/7 availability prevents extended downtime.
How Certified Sub-Zero Technicians Diagnose Issues
Professional diagnosis follows systematic evaluation procedures using specialized tools and manufacturer protocols. This approach identifies root causes rather than treating symptoms.
Technicians use multimeters, temperature sensors, refrigerant gauges, electronic diagnostic tools, and manufacturer software to test electrical systems, measure cooling performance, evaluate mechanical components, and interpret error codes for accurate problem identification.
Initial assessment includes owner interviews covering symptom history and usage patterns. Electronic diagnostics access control systems for error codes and performance data. Component testing evaluates individual parts including thermostats, sensors, motors, and electronic boards.
Cost of Sub-Zero Repair and What Affects Pricing
Repair costs vary based on problem complexity, required parts, labor time, and service call circumstances. Understanding pricing factors helps owners budget appropriately.
Sub-Zero repairs typically range from minor fixes under 200 dollars to major compressor replacements exceeding 1500 dollars. Costs depend on part prices, labor hours, emergency service timing, and whether multiple system repairs are needed simultaneously.
Part prices vary significantly based on component type. Electronic control boards cost more than thermostats. Labor costs reflect technician expertise and repair complexity. Reputable services provide written estimates before beginning work, detailing parts costs, labor charges, and total expense.
How Long Do Sub-Zero Repairs Take?
Repair duration depends on problem complexity, parts availability, and technician workload. Most common repairs complete within hours while extensive work requires multiple visits.
Simple repairs like thermostat replacement or door seal installation finish within one to two hours. Complex repairs involving compressors, refrigerant systems, or electronic controls take four to eight hours. Multi-day repairs occur when ordering specialized parts.
Many common problems receive same-day resolution when technicians carry necessary parts. Ice maker repairs, temperature sensor replacements, and drain line clearing often complete during initial service visits.
Preventive Maintenance Tips for Sub-Zero Appliances
Regular maintenance preserves performance, prevents failures, and extends appliance lifespan. Simple owner maintenance combined with professional service keeps Sub-Zero units operating optimally.
Essential maintenance includes cleaning condenser coils quarterly, inspecting door seals monthly, clearing drain lines annually, replacing water filters per manufacturer schedules, maintaining proper clearances, and scheduling professional service annually for comprehensive system evaluation.
Clean condenser coils located beneath or behind units using soft brushes or vacuum attachments. Dust accumulation forces compressors to work harder, reducing efficiency. Inspect door gaskets for damage, debris, or gaps compromising sealing effectiveness.
Maintenance Checklist:
- Clean condenser coils every three months
- Replace water filters according to manufacturer guidelines
- Inspect and clean door gaskets monthly
- Check interior for frost buildup or temperature inconsistencies
- Ensure adequate clearance around unit for proper ventilation
- Verify proper door closure and alignment
Annual professional service includes components beyond owner capabilities. Technicians calibrate temperature controls, test electrical systems, evaluate refrigerant levels, and identify developing problems before failures occur.
FAQ
How quickly can I get same-day Sub-Zero repair service?
Same-day service availability depends on technician schedules and problem complexity. Many services offer same-day appointments when contacted early, with typical response times between two to four hours for critical situations.
What should I do if my Sub-Zero refrigerator stops cooling completely?
Minimize door openings to preserve remaining cold air, transfer perishable items to alternative refrigeration if available, and contact professional repair services immediately. Avoid DIY repairs on complex refrigeration systems.
Are Sub-Zero repairs covered under warranty?
Sub-Zero provides limited warranties covering parts and labor for specified periods. Coverage varies by model and component type. Extended warranties offer additional protection beyond manufacturer warranties.
How often should I schedule professional maintenance for my Sub-Zero appliance?
Annual professional maintenance provides optimal performance and longevity. High-use commercial installations benefit from semi-annual service. Maintenance schedules should increase for older units showing declining performance.
Conclusion
Sub-Zero appliances deliver exceptional performance when properly maintained and promptly repaired by certified professionals. Understanding common problems, recognizing warning signs, and acting quickly protects your investment while ensuring reliable refrigeration.
Professional repair services using genuine parts and factory-trained technicians provide the expertise these premium appliances demand. Regular maintenance combined with immediate attention to developing problems maximizes appliance lifespan while minimizing total ownership costs.
Ready to restore your Sub-Zero appliance to peak performance? Sub Zero Repair Services delivers same-day repairs across South Florida with factory-certified technicians available 24/7, including weekends and holidays. Our specialists handle refrigerators, freezers, ice makers, wine coolers, and marine refrigeration using only genuine Sub-Zero parts. Get 15% off any repair when you book today. Call +1 (800) 651-4528 or visit https://sub-zerorepairservices.com/ for immediate assistance.
